As our data increases in size and we start to worry about data loss, our demand for extra storage increases. Some files by nature are large files, others, like your email inbox, just grow out of their containers, fortunately external hard drives are getting larger and cheaper and a lot easier to use now that they can be accessed through wireless connection. The benefits of connecting your external disk to an wireless router instead of goose couple vente
just plugging it directly to your computer is that you don’t have to worry about remembering to plug your external drive to your computer each time you want to backup, you can also use the same disk to backup more than one computer without having to move it constantly. This post describes the easiest way to connect your external drive to a wireless router and configure Timeline to backup to it.
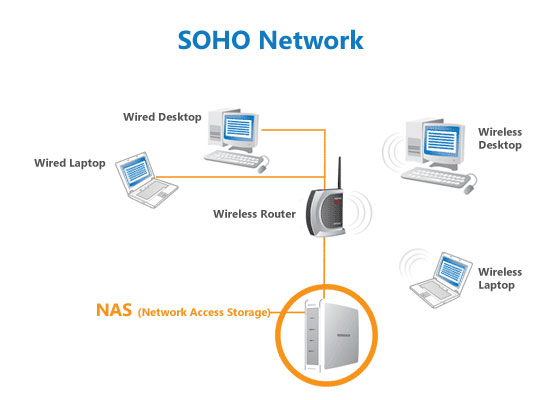
If you already have an external drive with an Ethernet port and a router, what you will need is an Ethernet cable, connect the router and the external drive with the Ethernet cable connected through the Ethernet port:

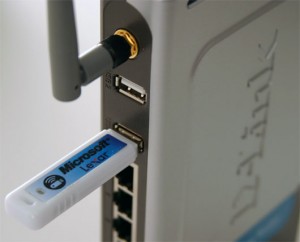
Or if your router has an USB port that you can use to connect examtrue your USB external drive you should check the manufacturer’s manual on how to access the drive, as some USB ports are intended just for printers.
An interesting article from gizmodo shows how to get the most out of your NAS here

Now if you’re router is brand new you will have to install your routers software so it automatically configures, it’s just a couple of prompts and steps that vary depending on the brand of wireless router you have.
Now that both your router and external drive are switched on, the next step would be to map the drive from Windows.
Open your computer from Windows, and then from tools choose “Map network drive” this will open up a window that lets you browse to your drive choose a letter for your new mapped network drive.
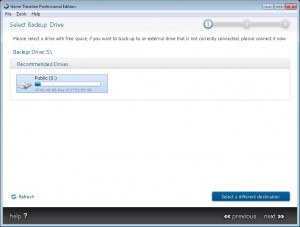
When your drive is mapped and you can see it from your computer. Download and install Timeline on your computer, after the setup has finished you will be presented with the backup setup wizard, from step number one “Select backup drive” choose “Select a different destination” this will open up a Windows Explorer like window that you can browse to your external drive from.

After you have selected your new network drive, you can continue the rest of the backup setup and Timeline will start backing up your files and folders to your wireless external drive.
Tips & Warnings
• Nearly every major manufacturer makes routers that can be connected to external hard drives–including Linksys, Netgear, DLink and Apple. Not every router has this feature, and not every router with a USB port can be connected to a hard drive. Some are intended only for printers, so check documentation carefully before you purchase a router.
• If your network is not secure, intruders may gain access to everything on your network-connected hard drive. Be sure to take advantage of any security features in your network and/or router settings.
